Bassett offers quality furniture, but assembly requires careful attention. Model-specific instructions are crucial for safety and proper setup, often unavailable online.
Videos demonstrate successful crib construction, aiding in a secure and comfortable sleep space for your baby, utilizing one tool for quick setup.
Contact Bassett directly with your model number to obtain the correct assembly manual, ensuring a safe and structurally sound crib.
Understanding the Importance of Correct Assembly
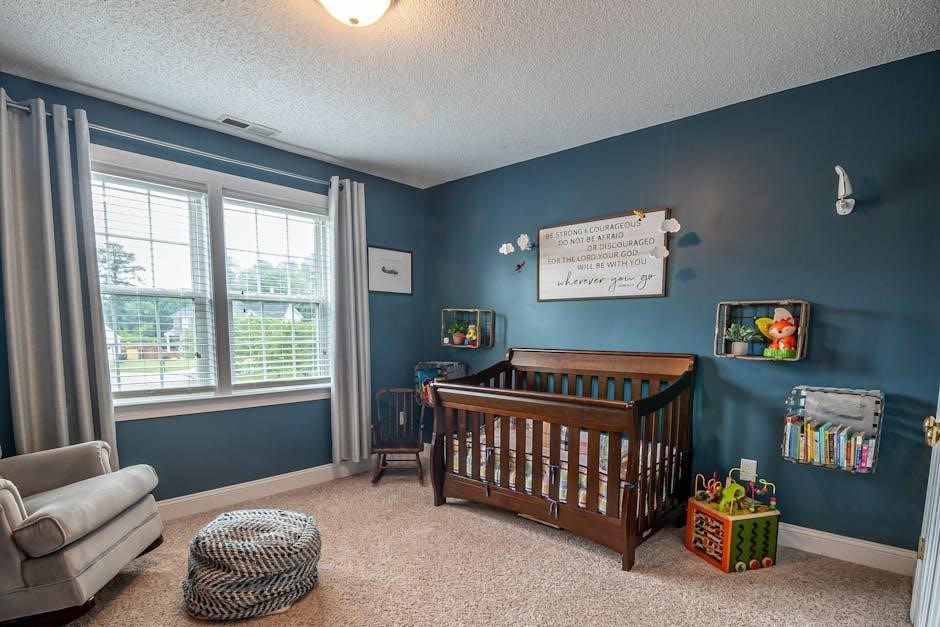
Proper crib assembly is paramount for your baby’s safety, ensuring a stable and secure sleep environment. Bassett Furniture designs with quality in mind, but incorrect assembly compromises structural integrity.
Following the specific instruction manual for your Bassett crib model prevents potential hazards like loose screws or misaligned parts. These issues can create gaps or weak points, posing risks.
Correct assembly also guarantees the crib functions as intended, particularly when converting to toddler or full-size beds. A well-assembled crib meets safety standards, providing peace of mind for parents and a safe haven for their child.
Safety Precautions Before You Begin
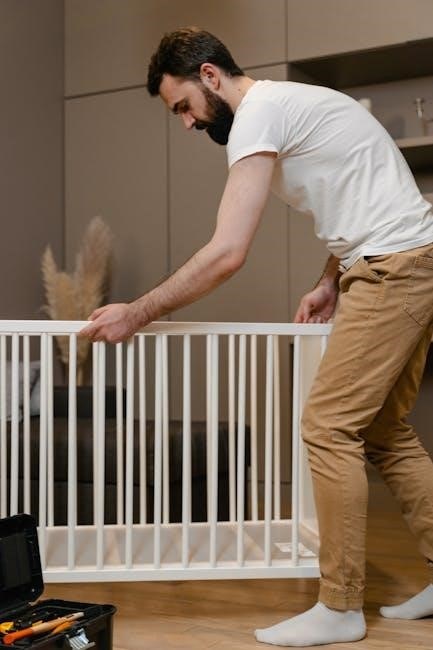
Prioritize safety during Bassett crib assembly. Clear a spacious, well-lit area, free from obstructions and potential hazards. Inspect all parts against the parts list to confirm everything is present before starting.
Keep small parts, like screws and dowels, away from children to prevent choking hazards. Consider using a protective floor covering to prevent scratches to both the furniture and your flooring.
Always refer to the official Bassett instruction manual for model-specific warnings and guidelines. Never force parts together; if resistance is met, re-examine the steps. A careful approach ensures a secure and safe crib.
Identifying Crib Parts
Bassett cribs include various components; a detailed parts list is essential. Correctly identifying each piece—sides, headboard, footboard—is the first step to assembly.
Detailed Parts List with Visual Aid
Bassett’s crib assembly necessitates a thorough understanding of all components. Typically, you’ll find crib sides (left and right), a headboard, a footboard, and a mattress support system.
The mattress support often includes several slats or a solid platform. Hardware, consisting of screws, bolts, and dowels, is crucial for secure connections. Unfortunately, Bassett doesn’t widely distribute visual aids online.
Therefore, referencing your specific model’s instruction manual—obtained directly from Bassett—is paramount. This manual will provide a detailed diagram illustrating each part and its corresponding label, ensuring accurate identification before beginning the assembly process.
Hardware Identification: Screws, Bolts, and Dowels
Bassett crib assembly utilizes various hardware types, demanding careful differentiation. Screws generally secure smaller components, while bolts provide robust connections for major structural parts like the headboard and footboard.
Dowels, often wooden, aid in alignment and add stability to joints before screws or bolts are tightened. Identifying the correct hardware is vital; using the wrong size can compromise the crib’s integrity.
Your Bassett model’s instruction manual will detail each hardware piece, often with diagrams. Contacting Bassett customer support for replacement parts is recommended if any are missing.
Tools Required for Assembly
Bassett crib assembly primarily needs screwdrivers and Allen wrenches, though some models may benefit from optional tools for faster, easier construction.
Essential Tools: Screwdrivers, Allen Wrenches
Bassett crib assembly fundamentally relies on having the correct screwdrivers and Allen wrenches readily available. The specific types and sizes will vary depending on the crib model, so referencing your instruction manual is paramount.
Typically, you’ll need both Phillips head and flathead screwdrivers for various screw types. Allen wrenches, often included with the furniture, are crucial for tightening bolts that secure the crib’s frame.
Ensure your screwdrivers have magnetic tips to prevent dropped screws during the process. Having a set of Allen wrenches, rather than relying solely on the included one, can also expedite the assembly.
Optional Tools for Easier Assembly
While Bassett crib assembly is achievable with basic tools, several optional items can significantly streamline the process. A power screwdriver with adjustable torque settings can expedite screw insertion, but use caution to avoid over-tightening and damaging the wood.
A rubber mallet proves useful for gently tapping pieces together, particularly when dowels are involved. A level ensures the crib is perfectly balanced, crucial for mattress support safety.
Finally, a soft cloth protects the furniture’s finish during assembly, preventing scratches. These additions enhance efficiency and contribute to a professional result.

Step-by-Step Assembly Instructions
Bassett provides model-specific instructions; carefully follow each step. Begin with sides, then attach the headboard and footboard, ensuring secure connections.
Install the mattress support, adjusting height as needed for your baby’s development, prioritizing safety throughout the process.
Assembling the Crib Sides
Begin by carefully laying out all crib side pieces, referencing your specific Bassett model’s instruction manual. Identify the left and right sides, noting any pre-drilled holes or specific orientations.
Typically, this involves connecting side panels to the headboard and footboard using bolts and dowels. Ensure dowels are fully inserted before tightening bolts, preventing misalignment.
Tighten all hardware securely, but avoid over-tightening, which could damage the wood. Double-check that the sides are flush and level before proceeding to the next step.
Refer to the manual for specific guidance on bolt placement and torque settings, as these can vary between Bassett models.
Attaching the Headboard and Footboard
Carefully position the headboard and footboard, aligning them with the assembled crib sides. Bassett designs often utilize bolts and sometimes dowels for a secure connection.
Insert dowels first, ensuring a snug fit, then attach the headboard and footboard using the appropriate bolts. Hand-tighten initially to allow for adjustments.
Verify that the headboard and footboard are square with the sides before fully tightening the bolts. A level can be helpful in ensuring proper alignment.
Consult your model’s instruction manual for specific bolt placement and torque recommendations to avoid damaging the furniture.
Installing the Mattress Support
Locate the mattress support components, typically a metal or wooden frame designed to hold the mattress securely within the crib. Bassett cribs often feature adjustable height settings.
Attach the support frame to the crib sides using the provided hardware – screws or bolts – ensuring it’s level and firmly in place. Double-check alignment before tightening.
Confirm the support is correctly installed according to your model’s instructions, as incorrect installation can compromise safety. Proper support is vital.
Test the stability of the support before placing the mattress, ensuring it can withstand weight without wobbling or collapsing.
Adjusting Mattress Height
Bassett cribs frequently offer multiple mattress height positions to accommodate your growing baby’s developmental stages. Lower settings enhance safety as the child begins to sit or stand.
To adjust, carefully remove the mattress and locate the height adjustment hardware – often bolts or pins – on the interior crib sides. Disengage the existing setting.
Reposition the mattress support to the desired height level, ensuring it’s securely locked into place on both sides. Verify equal height on all corners.
Always double-check the stability of the support before replacing the mattress, confirming a secure and level sleeping surface for your little one.

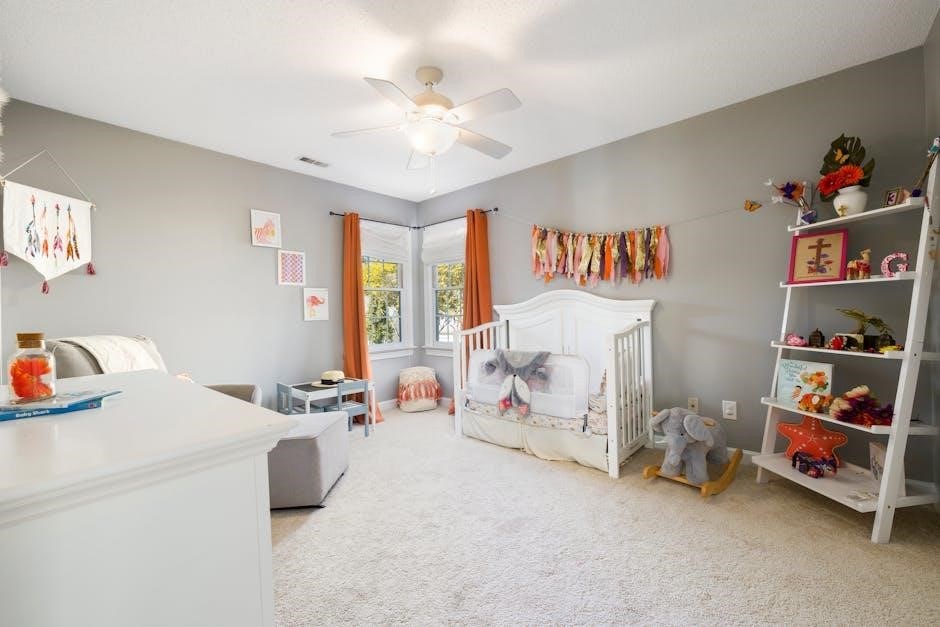
Converting the Crib
Bassett cribs often convert to toddler, day, and full-size beds. Specific conversion kits and instructions are vital for a safe transformation.
Follow the Bassett manual closely, as conversion steps vary by model, ensuring structural integrity and child safety throughout each stage.
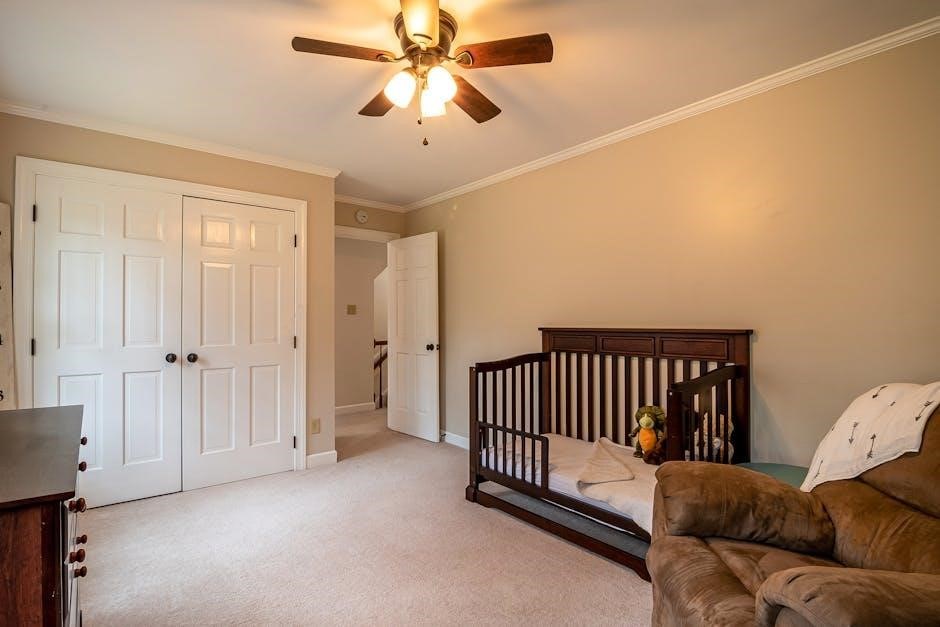
Toddler Bed Conversion Guide
Bassett’s toddler bed conversion typically involves removing one side rail of the crib, utilizing a dedicated toddler guardrail kit for safety. These kits are often sold separately and are essential for preventing falls.
Carefully consult your specific Bassett model’s instructions, as attachment points and hardware may differ. Ensure all bolts are tightened securely, and the guardrail is firmly in place before allowing a child to use the converted bed.
Lowering the mattress to its lowest setting is also crucial during this transition, providing increased safety and ease of access for your growing toddler. Always prioritize a secure and stable sleep environment.
Full-Size Bed Conversion Guide
Converting a Bassett crib to a full-size bed generally requires a separate conversion kit, including a headboard, footboard, and side rails designed for adult mattresses. These kits are typically purchased independently from the crib itself.
The process involves detaching the crib’s existing components and attaching the new bed frame pieces, utilizing the hardware provided in the conversion kit. Precise instructions are vital, varying by Bassett model.
Ensure a sturdy foundation and proper support for the full-size mattress. Double-check all connections for tightness and stability before use, prioritizing safety and a comfortable sleep experience;

Troubleshooting Common Assembly Issues
Bassett doesn’t offer online instructions, so missing parts or misaligned holes require contacting customer support with your model number for assistance.
Ensure screws are tightened securely, addressing any looseness immediately to maintain the crib’s structural integrity and safety.
Dealing with Missing Parts
Bassett Furniture prioritizes customer satisfaction, and addressing missing components is a crucial step in successful crib assembly. Unfortunately, readily available online instructions don’t circumvent the possibility of incomplete deliveries. If you discover parts are missing, immediately contact Bassett Furniture Industries, Inc. directly.
Have your crib model number readily available; this will expedite the process of identifying the correct replacement parts. Bassett will typically ship missing hardware or components to you at no additional cost. Do not attempt to substitute parts, as this could compromise the crib’s safety and structural integrity.
Waiting for the correct replacements ensures a secure and properly assembled sleeping environment for your baby.
Addressing Misaligned Holes
Encountering misaligned holes during Bassett crib assembly is a common frustration, but forcing components is never the solution. Carefully re-examine the parts and the assembly instructions to confirm correct orientation. Sometimes, a component may be installed backward, causing misalignment.
Loosen any already-attached screws or bolts in the vicinity of the misaligned holes. This can provide a small degree of flexibility, allowing for better alignment. Avoid excessive force; gentle pressure is key.
If the issue persists, contact Bassett customer support – they can offer specific guidance or arrange for replacement parts if a manufacturing defect exists.
Tightening Loose Screws
Regularly check all screws and bolts on your Bassett crib, as loosening can occur with normal use. Use the appropriate Allen wrench or screwdriver – avoid over-tightening, which can strip the screw holes or damage the wood.
If a screw spins freely and doesn’t tighten, the hole may be stripped. Consider using a slightly larger screw of the same type, or inserting a small wooden toothpick with wood glue into the hole before re-inserting the original screw.
Consistent monitoring and prompt tightening ensure the crib’s structural integrity and your baby’s safety.

Finding Bassett Crib Assembly Manuals
Bassett generally doesn’t provide assembly instructions online; contacting them directly with the model number is essential for obtaining the correct manual.
Explore online resources and Bassett’s customer support for assistance locating the specific instructions for your crib model.
Accessing Online Resources
While Bassett Furniture doesn’t routinely publish crib assembly instructions directly on their website, several online avenues can prove helpful in your search. Numerous instructional videos on platforms like YouTube demonstrate the assembly process for various Bassett crib models, offering visual guidance.
These videos often cover the entire process, from unpacking components to final tightening, and can be invaluable for visual learners. Additionally, furniture-focused forums and online communities frequently host discussions where users share experiences and potentially link to helpful resources or scanned copies of manuals. Remember to always verify the model number matches your specific Bassett crib before following any online guidance.
Contacting Bassett Customer Support
Bassett Furniture prioritizes safety and often doesn’t provide assembly instructions online due to model-specific variations; Therefore, directly contacting their customer support is the most reliable method for obtaining the correct manual. Be prepared to provide your crib’s model number, found on a label typically located on the headboard or footboard.
You can reach Bassett through their official website, utilizing the contact form or locating a phone number for direct assistance. Replacement parts can also be requested through customer support if any components are missing or damaged. Their team can guide you through the process, ensuring a safe and correct assembly.

Safety Standards and Certifications
Bassett prioritizes safety; look for JPMA certification, indicating adherence to rigorous standards. Always use the crib safety checklist during and after assembly.
Understanding JPMA Certification
JPMA (Juvenile Products Manufacturers Association) certification is a vital indicator of a Bassett crib’s safety. This rigorous testing program ensures the crib meets or exceeds established safety standards set by the ASTM (American Society for Testing and Materials).
JPMA independently evaluates cribs for structural integrity, hardware reliability, and potential hazards like entrapment risks. A JPMA-certified Bassett crib provides parents with confidence knowing it has undergone thorough scrutiny.
Look for the JPMA seal on the crib or its packaging as verification. While certification doesn’t eliminate all risks, it significantly reduces them, contributing to a safer sleep environment for your baby. Proper assembly, following Bassett’s instructions, is still crucial.
Crib Safety Checklist
Prioritize safety during and after Bassett crib assembly. Regularly inspect all hardware – screws, bolts, and dowels – ensuring they remain tightly secured. Confirm the mattress fits snugly, leaving no gaps exceeding two fingers width to prevent entrapment.
Verify the crib’s structure is stable and free from any wobbling or loose joints. Avoid placing the crib near windows, cords, or anything a baby could reach. Adhere strictly to Bassett’s recommended mattress height adjustments as your child grows.
Continuously monitor for wear and tear, promptly addressing any damage. A safe sleep environment is paramount; diligent checks are essential for your baby’s well-being.
Maintenance and Care
Bassett cribs require regular cleaning and inspection. Promptly address wear and tear to maintain safety and longevity, ensuring a secure sleep environment.
Cleaning Your Bassett Crib
Regular cleaning is vital for maintaining a hygienic sleep environment for your baby. Use a mild soap and warm water solution with a soft cloth to gently wipe down all crib surfaces.
Avoid abrasive cleaners or harsh chemicals, as these can damage the finish and potentially harm your child. Ensure the crib is completely dry before reinstalling bedding.
Pay close attention to areas where spills or messes occur, cleaning them immediately to prevent staining or buildup. Routine dusting will also help keep the crib looking its best.
Remember to inspect for any loose screws or hardware during cleaning, addressing them promptly to maintain the crib’s structural integrity and safety.
Regular Inspection for Wear and Tear
Consistent inspection of your Bassett crib is crucial for ongoing safety. Regularly check all screws, bolts, and dowels to ensure they remain tightly secured, preventing instability.
Examine the crib’s finish for any cracks, chips, or peeling paint, which could pose a hazard to your baby. Inspect the mattress support to confirm it’s firmly in place.
Look for any signs of structural weakness in the crib’s frame, such as loose joints or warping wood. Address any issues immediately to maintain a safe sleep environment.
Proactive maintenance, guided by the original assembly instructions, extends the crib’s lifespan and ensures continued peace of mind for parents.
Resources and Support
Bassett Furniture’s website offers assistance, while instructional videos and tutorials are available online. Contact Bassett customer support for manuals and guidance.
Bassett Furniture Website
Bassett’s official website serves as a primary resource for customers needing assistance with furniture assembly, including their juvenile line of cribs. While direct downloadable assembly instructions aren’t consistently available for every model, the site provides contact information for their customer support team.
You can locate model numbers and potentially access frequently asked questions related to crib setup. The website also showcases the range of Bassett cribs, including convertible options, and details about their quality and safety standards. Exploring the site can offer valuable insights even before contacting support directly.
Assembly Videos and Tutorials
Numerous online videos offer step-by-step guidance for baby crib assembly, often demonstrating techniques applicable to various Bassett models. These instructional videos can be incredibly helpful, visually illustrating the process and clarifying potentially confusing steps.
Several tutorials focus on specific crib types, like the Echelon, and aim to help you successfully put the crib together. While not officially produced by Bassett, these resources provide a valuable supplement to the official instructions, offering a practical approach to crib construction.