Yardistry Gazebo 12×14 Instructions: A Comprehensive Guide
Navigating the assembly of your Yardistry 12×14 gazebo requires careful attention to detail‚ ensuring a structurally sound and enjoyable outdoor space for years to come.
Understanding the Yardistry 12×14 Gazebo Kit
The Yardistry 12×14 gazebo kit arrives as a substantial package‚ containing numerous components crucial for successful assembly. Familiarizing yourself with these parts before beginning is paramount. Expect a collection of lumber‚ pre-drilled posts‚ roof panels‚ hardware packets (screws‚ bolts‚ and connectors)‚ and detailed instruction manuals – often available digitally as well.
Carefully review the parts list within the manual‚ cross-referencing each item with the physical contents of your kit. This initial inventory check identifies any missing or damaged pieces‚ allowing for prompt replacement requests. Understanding the function of each component – from the base frame supports to the decorative roof elements – will streamline the building process and prevent errors later on.
Pay close attention to the different types of hardware; using the incorrect screw or bolt can compromise structural integrity. The kit is designed for a relatively straightforward DIY assembly‚ but a clear understanding of its contents is the first step towards a beautiful and lasting gazebo.
Unboxing and Inventory: Checking All Components
Begin the process by carefully unboxing the Yardistry 12×14 gazebo kit‚ taking care not to damage the contents with a utility knife or similar tool. Spread out all the components in a spacious‚ well-lit area‚ providing ample room for sorting and inspection. The initial step is a thorough inventory check against the parts list provided in the instruction manual.
Systematically identify and count each item – lumber pieces (posts‚ beams‚ rafters)‚ roof panels‚ hardware packets (screws‚ bolts‚ connectors‚ brackets)‚ and any included accessories. Note any discrepancies immediately‚ such as missing parts or damaged components. Document these findings with photos and contact Yardistry customer support for replacements.
Separate the hardware into labeled containers to facilitate easy access during assembly. This proactive approach prevents confusion and saves valuable time. A complete and accurate inventory ensures a smooth and frustration-free building experience‚ setting the stage for a successful gazebo construction.
Tools Required for Assembly
Successful assembly of your Yardistry 12×14 gazebo hinges on having the correct tools readily available. A power drill with various bits is essential for driving screws and bolts efficiently. A Phillips head bit and a flathead bit are crucial‚ alongside a socket wrench set for tightening larger fasteners. A rubber mallet proves invaluable for gently persuading pieces into alignment without causing damage.

Beyond the basics‚ a level is non-negotiable for ensuring a perfectly even foundation and structurally sound gazebo. A measuring tape is needed for accurate measurements throughout the process. Safety glasses are paramount to protect your eyes from debris‚ and work gloves will provide a secure grip and prevent splinters.
Consider a speed square for marking accurate angles and a stud finder if attaching the gazebo to an existing structure. Having these tools prepared beforehand streamlines the build and minimizes interruptions.
Preparing the Foundation: Site Selection and Leveling
Proper foundation preparation is paramount for a stable and long-lasting Yardistry 12×14 gazebo. Begin by selecting a level site‚ away from overhanging branches and potential hazards. Ensure adequate space surrounding the gazebo for comfortable access and enjoyment. Consider local building codes and property lines before finalizing the location.
Leveling the ground is critical. Remove any vegetation‚ rocks‚ and debris. Utilize a spirit level and shovel to create a perfectly flat surface. For enhanced stability‚ a gravel base is highly recommended‚ providing excellent drainage and preventing shifting. Compact the gravel thoroughly using a tamper.
Alternatively‚ a concrete pad offers the most robust foundation‚ though it requires more effort. Regardless of the chosen method‚ meticulous leveling ensures the gazebo’s structural integrity and prevents future issues.

Step-by-Step Assembly Process
Following the detailed manual‚ begin with the base frame‚ then construct corner posts‚ attach roof supports‚ and finally‚ install the roof panels systematically.
Assembling the Base Frame
Begin by laying out all the base frame components on a level surface‚ carefully identifying each piece according to the parts list in your instruction manual. Connect the side rails to the corner brackets using the provided hardware – typically bolts‚ washers‚ and nuts – ensuring a snug‚ but not overly tightened‚ fit at this stage.
It’s crucial to maintain squareness during this process; diagonal measurements should be equal. Once the rectangular frame is assembled‚ attach the center support beams‚ again using the appropriate hardware. Double-check all connections for stability before proceeding.
Pay close attention to the orientation of the lumber‚ as some pieces may be specifically designed for certain positions. A properly assembled base frame is the foundation for a sturdy and long-lasting gazebo‚ so take your time and verify each connection.
Constructing the Corner Posts
With the base frame securely assembled‚ begin constructing the corner posts. Typically‚ this involves joining multiple lumber pieces to achieve the desired post height. Utilize the provided brackets and hardware to connect these sections‚ ensuring they are aligned vertically.
Carefully attach the assembled corner posts to the base frame’s corner brackets‚ again using bolts‚ washers‚ and nuts. It’s vital to ensure the posts are plumb – perfectly vertical – using a level. Temporary bracing may be necessary to hold the posts in place while securing them.
Double-check that all connections are tight and secure‚ as the corner posts bear a significant load. Proper post construction is essential for the gazebo’s overall stability and structural integrity‚ so precision is key.
Attaching the Roof Supports
Once the corner posts are firmly in place‚ proceed with attaching the roof supports. These supports‚ often long beams‚ will span between the posts‚ forming the framework for the roof. Begin by positioning the supports at the designated height‚ as indicated in the instructions.
Securely fasten the roof supports to the corner posts using appropriate brackets and hardware. Ensure the supports are level and evenly spaced to provide a stable foundation for the roof panels. Pay close attention to the orientation of the supports‚ as incorrect placement can affect the roof’s structural integrity.
Reinforce the connections with additional brackets or screws if necessary‚ guaranteeing a robust and reliable roof support system. This step is crucial for withstanding weather elements.
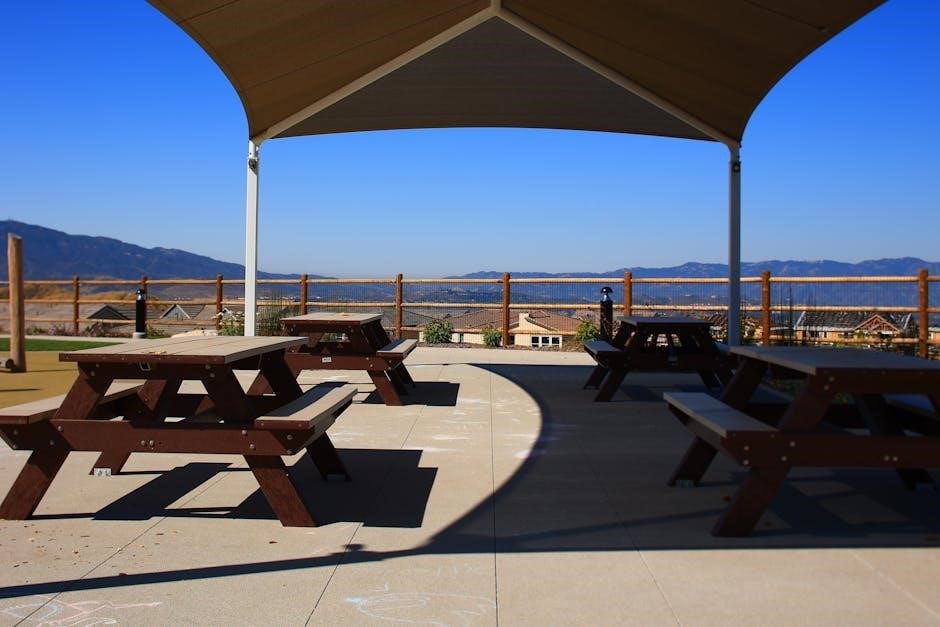
Installing the Roof Panels
With the roof supports securely attached‚ carefully begin installing the roof panels. These panels typically overlap slightly‚ creating a weather-resistant barrier; Start at one edge of the gazebo and work your way across‚ aligning each panel with the supports.
Secure the panels using the provided screws or fasteners‚ ensuring they are tightened adequately but not over-tightened‚ which could damage the material. Pay attention to the direction of any pre-drilled holes or markings on the panels‚ as these indicate the correct orientation.
Double-check that each panel is flush with its neighbors and that there are no significant gaps. A properly installed roof will provide excellent protection from the elements and enhance the gazebo’s aesthetic appeal.
Specific Assembly Challenges & Solutions
Addressing common hurdles like misaligned holes or panel gaps is crucial; patience and careful adjustments will ensure a successful and structurally sound gazebo build.
Dealing with Pre-Drilled Hole Alignment Issues
Frequently‚ users encounter difficulties aligning the pre-drilled holes during Yardistry gazebo assembly. This isn’t uncommon‚ often stemming from minor manufacturing variations or shipping stresses. Don’t force the connections! Applying excessive pressure can damage the wood.
First‚ loosen the surrounding connections to allow for slight adjustments. Gently try to wiggle the components into alignment. If holes still don’t line up‚ consider slightly enlarging the smaller hole with a drill bit – but proceed cautiously‚ using a bit only marginally larger than the original.

Alternatively‚ a rubber mallet can be used to gently persuade the pieces together. Ensure you protect the wood with a scrap piece of material to prevent damage. If misalignment persists‚ double-check that you’re using the correct components and following the instructions precisely. Sometimes‚ a reversed piece can cause significant alignment problems.
Addressing Roof Panel Gaps
Small gaps between the roof panels are often observed during Yardistry gazebo construction‚ primarily due to natural wood variations and the expansive surface area. These gaps are generally cosmetic and don’t compromise the structural integrity‚ but addressing them enhances the gazebo’s weather resistance.
Initially‚ ensure all roof panels are correctly seated and securely fastened. Tighten all screws‚ but avoid over-tightening‚ which can strip the wood. For minor gaps‚ exterior-grade wood filler can be applied‚ sanded smooth once dry‚ and painted or stained to match.
For larger gaps‚ consider using a flexible‚ waterproof sealant specifically designed for outdoor wood applications. Apply the sealant carefully‚ ensuring it fills the gap completely and creates a watertight seal. Regularly inspect the sealant and reapply as needed to maintain weather protection.
Securing the Gazebo to the Foundation
Properly anchoring your Yardistry 12×14 gazebo to its foundation is crucial for stability‚ especially in windy conditions. The kit typically includes brackets and hardware designed for attachment to a concrete pad‚ deck‚ or wooden platform.
Begin by positioning the gazebo precisely on the foundation. Using the provided brackets‚ mark the locations for drilling pilot holes. Ensure the holes are appropriately sized for the anchor bolts. Insert the anchor bolts and securely fasten the brackets to both the gazebo’s base frame and the foundation.
For wooden foundations‚ use lag screws for a strong hold. Regularly inspect the anchors for tightness and corrosion‚ and retighten or replace them as needed. This step significantly enhances the gazebo’s resistance to movement and potential damage.

Finishing Touches & Maintenance
Personalize your gazebo with optional features like netting or curtains‚ and maintain its beauty through regular cleaning and protective treatments for longevity.
Installing Mosquito Netting (Optional)
Enhance your gazebo experience by adding mosquito netting‚ creating a bug-free sanctuary for relaxation and enjoyment. Begin by carefully measuring the perimeter of your gazebo to determine the necessary amount of netting. Yardistry often offers netting kits specifically designed for their 12×14 model‚ ensuring a proper fit and easier installation.

Attach the netting using the provided hooks or loops‚ strategically placed around the gazebo’s frame. Ensure the netting is taut and securely fastened to prevent gaps where insects could enter. Consider overlapping sections for added protection. For a seamless look‚ you might need to adjust the tensioning straps or cords included in the kit. Regularly inspect the netting for tears or damage‚ promptly repairing any issues to maintain its effectiveness. Enjoy peaceful evenings without unwanted guests!
Adding Privacy Curtains (Optional)
Transform your Yardistry gazebo into a secluded retreat with the addition of privacy curtains. These curtains offer shade‚ block wind‚ and create a more intimate atmosphere. Begin by selecting a curtain rod system compatible with your gazebo’s structure; Yardistry may offer specific options or you can use a universal fit.
Install the curtain rod securely‚ ensuring it can support the weight of the chosen fabric. Hang the curtains‚ allowing for slight overlap at the edges to maximize privacy. Consider the fabric weight and color – lighter fabrics allow some light through‚ while heavier materials provide complete seclusion. Tiebacks can be used to hold the curtains open during the day. Regularly clean the curtains according to the fabric’s care instructions to maintain their appearance and longevity‚ enjoying enhanced privacy and comfort.
Gazebo Maintenance: Cleaning and Protection
Preserving the beauty and longevity of your Yardistry gazebo requires regular cleaning and protective measures. Begin by routinely sweeping or hosing down the roof and frame to remove debris like leaves and dirt. For more thorough cleaning‚ use a mild soap solution and a soft brush‚ avoiding harsh chemicals that could damage the wood finish.

Inspect the wood for any signs of weathering or damage‚ applying a suitable wood sealant or stain annually to protect against UV rays and moisture. Check all hardware – bolts‚ screws‚ and connectors – tightening them as needed to maintain structural integrity. Consider applying a protective coating to metal components to prevent rust. Regular maintenance will ensure your gazebo remains a stunning and durable addition to your outdoor living space for years to come.
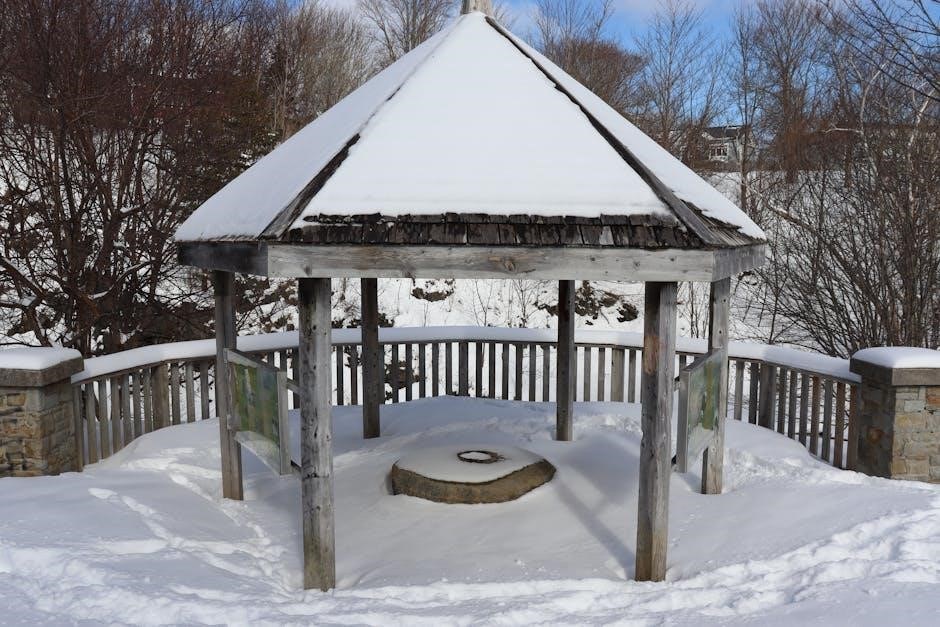
Winterizing Your Yardistry Gazebo
Preparing your Yardistry gazebo for winter is crucial to prevent damage from snow‚ ice‚ and harsh weather. Begin by removing all cushions‚ curtains‚ and mosquito netting‚ storing them indoors in a dry place. Clear the roof of any accumulated leaves or debris to prevent water buildup and potential collapse under snow weight.
Consider applying a waterproof sealant to the roof panels and wood frame for added protection. If heavy snowfall is expected‚ reinforce the roof supports with additional bracing. Regularly check for ice buildup and carefully remove it to avoid excessive weight. Finally‚ cover the gazebo with a waterproof tarp for comprehensive protection during the coldest months‚ ensuring proper ventilation to prevent moisture buildup and mildew growth.
Troubleshooting Common Issues
Addressing unexpected problems during or after assembly is often necessary; careful inspection and referencing the manual will resolve most difficulties encountered.
Identifying and Replacing Damaged Parts
Carefully inspect all components upon unboxing and throughout the assembly process for any signs of damage‚ such as cracks‚ splits‚ or missing hardware. Document any issues with photographs before proceeding. If a part is damaged‚ do not attempt to use it; this could compromise the gazebo’s structural integrity.
Contact Yardistry’s customer support immediately‚ providing your order number and detailed descriptions (and photos) of the damaged parts. They typically offer replacement parts free of charge under warranty. Be prepared to provide proof of purchase.
When receiving replacements‚ ensure they are the correct parts before discarding the original damaged components. Proper identification is crucial for a seamless repair. Always follow the assembly instructions when installing the replacement parts‚ and double-check all connections for secure fastening.
Addressing Structural Instability
If you notice any wobbling‚ leaning‚ or creaking during or after assembly‚ immediately address the structural instability. First‚ re-check all connections – bolts‚ screws‚ and brackets – ensuring they are tightened to the manufacturer’s specifications. Don’t overtighten‚ as this can strip threads.
Verify the foundation is perfectly level; even a slight incline can cause significant instability. Use shims under the base frame if necessary. Inspect the corner posts for plumbness using a level‚ and adjust as needed. Ensure roof supports are securely attached and properly aligned.
If instability persists‚ contact Yardistry’s customer support for guidance. They may recommend additional bracing or reinforcement techniques. Ignoring structural issues can lead to collapse‚ so prioritize safety and thorough investigation.
Understanding Warranty Information
Yardistry offers a warranty on its 12×14 gazebo‚ but understanding the specifics is crucial. Typically‚ the warranty covers manufacturing defects in materials and workmanship for a defined period‚ often ranging from one to ten years depending on the component.
The warranty usually doesn’t cover damage caused by improper installation‚ normal wear and tear‚ acts of nature (like storms or snow loads)‚ or modifications made to the original structure. Keep your proof of purchase and register your gazebo online to activate the warranty.
Carefully review the warranty documentation for exclusions and claim procedures. Document any defects with photos and contact Yardistry’s customer service to initiate a claim. Retain all communication records throughout the process.